In some earlier articles, we installed the Bosch BNO055 on both the NVIDIA Jetson TK1 and Jetson TX1 development kits. However, the explanation for installation on the Jetson TK1 was a little too round about, even by the low bar we set around here. Therefore, here’s a more direct installation article. Looky here:
Parts
The parts used in the demonstration:
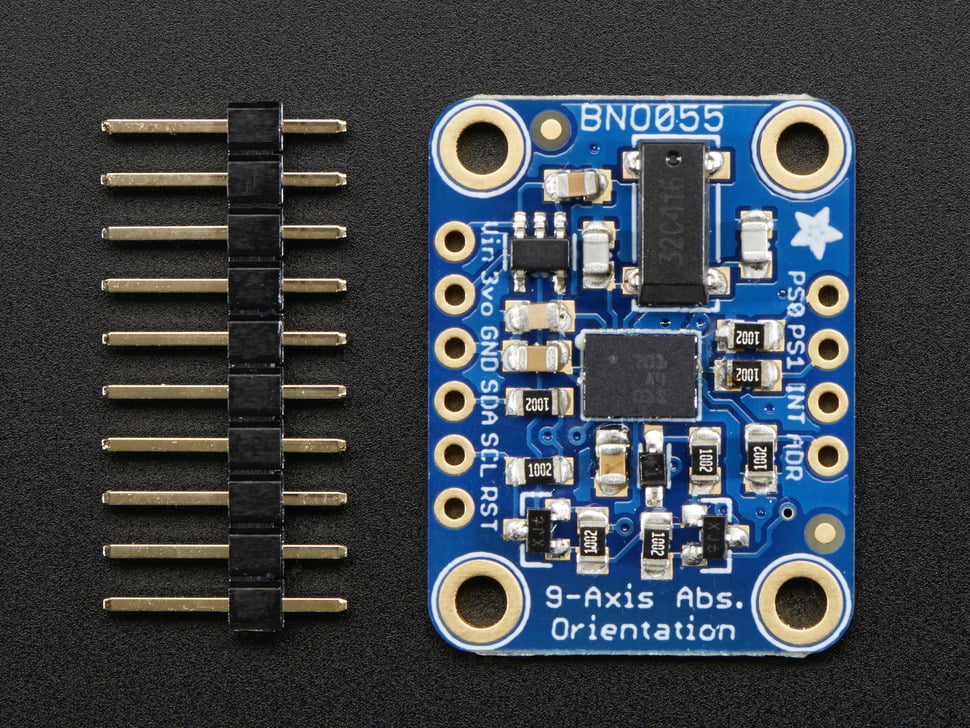
- Adafruit BNO055 Absolute Orientation Sensor Breakout Board
- 20 CM Machine Pin Wire Kit/10 Pack
- SparkFun USB Type A Female Breakout
- SparkFun microB USB Breakout
- Jetson TK1 programming cable, USB to microUSB
- Hookup wire (In the video Hook up Wire – 22 Gauge
was used).
- Breadboard (In the video, a Solderless BreadBoard, 400 tie-points, 4 power rails
was used)
Wiring BNO055
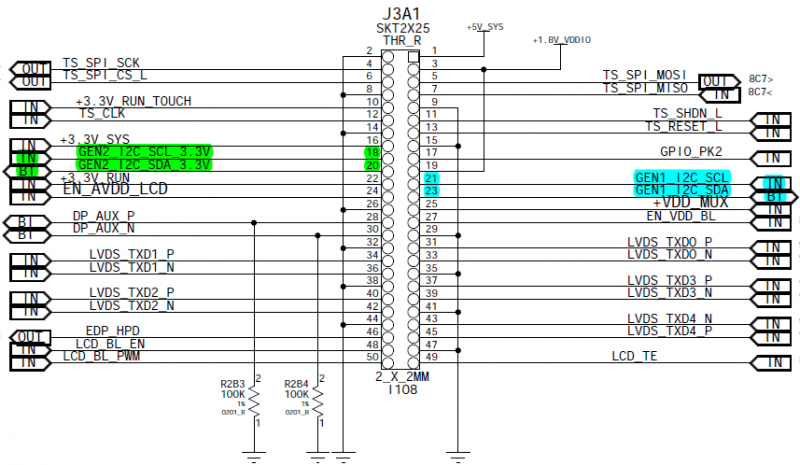
The BNO055 is connected to the I2C Gen2 signals (I2C bus 1) on the Jetson J3A1 connector as follows:
GND J3A1-14 -> BNO055 (GND)
VCC J3A1-16 -> BNO055 (VCC – 3.3V)
SCL J3A1-18 -> BNO055 (SCL)
SDA J3A1-20 -> BNO055 (SDA)


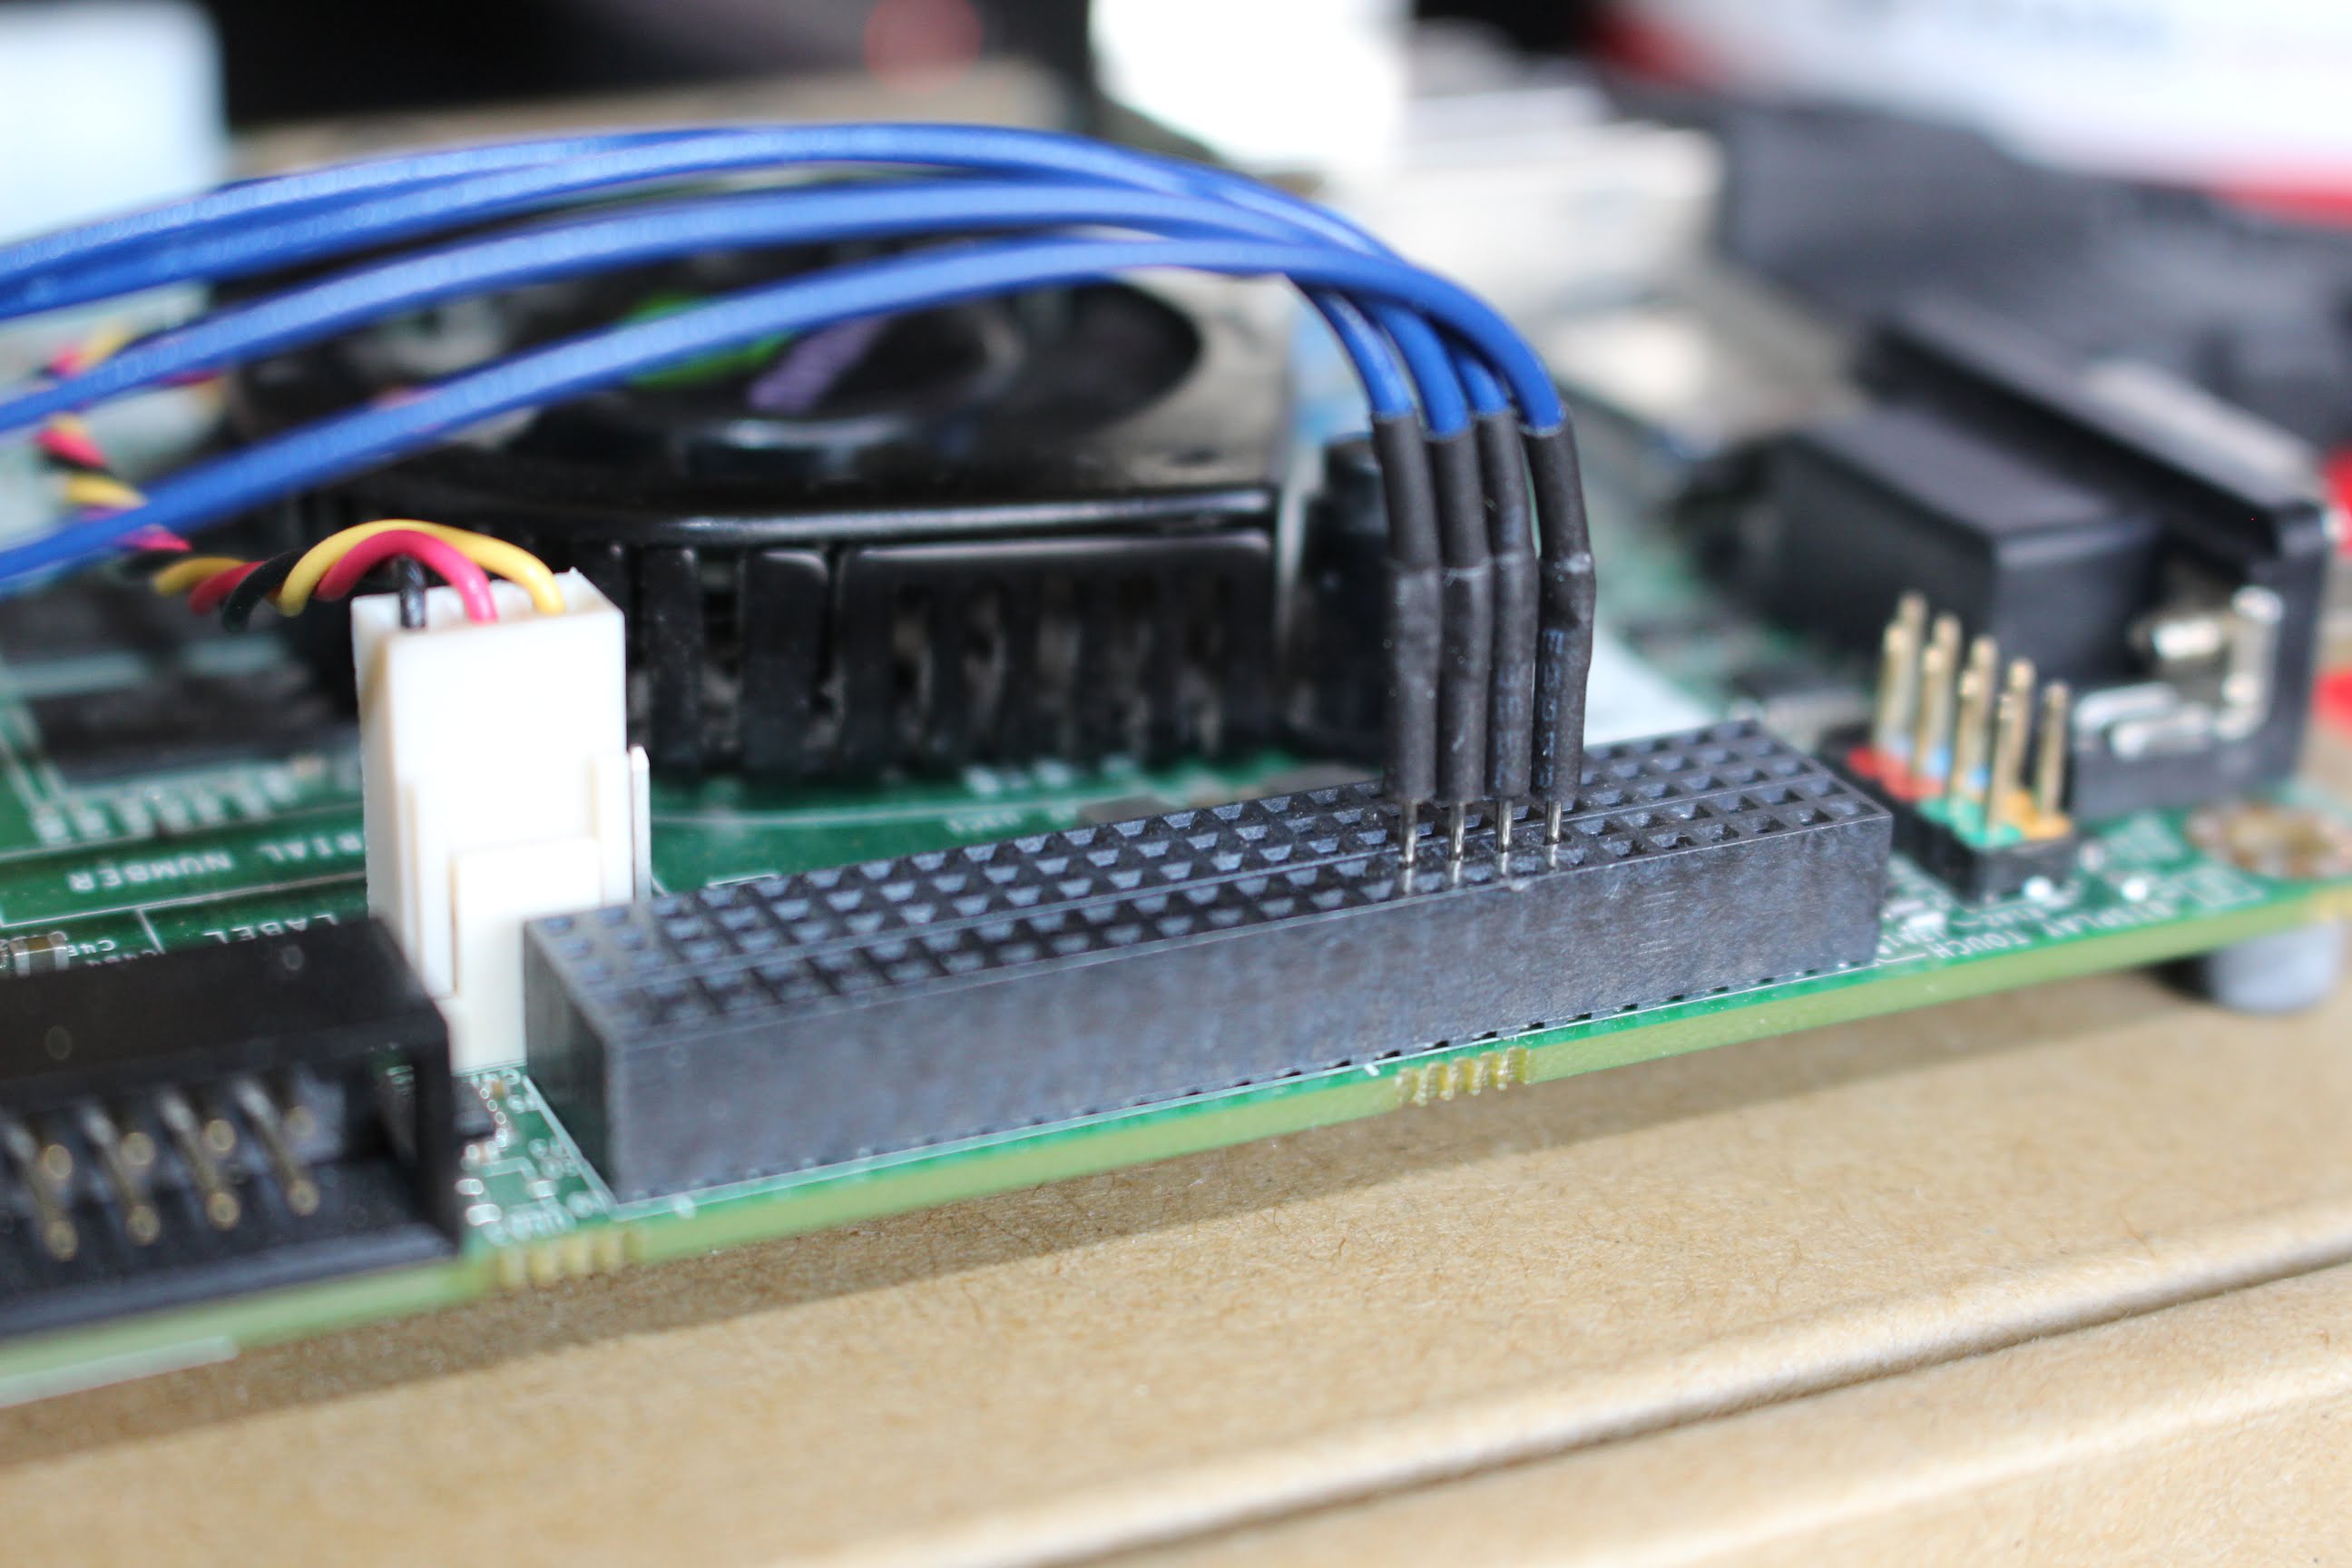
In the video, we use the machine pin jumper wire to attach to a breadboard, then wire the USB A breakout to the signals. Headers are soldered onto the BNO055 breakout board, inserted into a breadboard, and then wired similarly to the first breadboard to bring the signals from the microB USB connector. The programming cable is then plugged into the breadboard USB ports to carry the signal across the boards. The extra cable length makes it easier to move the IMU for demonstration purposes.
Conceptually, the signals are just being wired from the J3A1 header straight to the BNO055, there’s just some wire being added in the middle.
For real projects you will want a more permanent solution.
Here’s some pictures from the Jetson Wiki for reference :

Software Setup and Installation
Once the board is wired up, turn the Jetson TK1 on.
In order to be able inspect the i2c bus, you will find it useful to install the i2c tools:
$ sudo apt-get install libi2c-dev i2c-tools
After installation, in a Terminal execute:
$ sudo i2cdetect -y -r 1
You should see an entry of 0x28, which is the default address of the IMU.
The demonstration software is available in the JetsonHacks Github RTIMULib repository. RTIMULib is originally from from richards-tech LLC. Here is an article which gives a deeper talk about IMU stuff on that website.
To install the demonstration:
git clone https://github.com/jetsonhacks/RTIMULib.git
then open a file browser and navigate to ‘./RTIMULib/Linux/RTIMULibDemoGL’. Then open the file ‘RTIMULibDemoGL.pro’ with Qt Creator and compile the demo. Here’s an article we did a while ago on how to install Qt Creator.
After the file is finished building, go to where the executable file resides (this is dependent on how Qt Creator is configured) and execute the demo using ‘sudo’. For example:
$ sudo ./RTIMULibDemoGL
At that point the demonstration should begin with the IMU orientation being displayed in a GUI.

4 Responses
Hi Jim, I have configured BNO055 on Jetson TX1. The values using i2cdetect and i2cdump shows that it is configured correctly on i2c #1 (it shows data stream on 0x28). But on compiling and running RTIMULibDemoGL, I am getting errors:
Failed to open I2C bus 1
Failed to open SPI bus 0, select 0
Failed to open SPI bus 0, select 1
No IMU detected
Please advice, how can I run the demo on TX1. Thanks!
Are you running the demo with ‘sudo’ permissions?
Thanks for the tutorial. Does this also work with Jetson TX2? I’m testing it on my TX2 Jetson without satisfactory results. I’ve already “Build All” with “QT Creator” but when using “sudo ./RTIMULibDemoGL” the following messages appear:
QStandardPaths: XDG_RUNTIME_DIR not set, defaulting to ‘/tmp/runtime-root’
QXcbIntegration: Cannot create platform OpenGL context, neither GLX nor EGL are enabled
Settings file RTIMULib.ini loaded
Using fusion algorithm RTQF
Segmentation fault
Besides that a black windows appears for a second, like trying to load the program. I’m not that into this OpenGL stuff, so it may be a simple problem or just a missing installation or library, I guess. I’m working with Ubuntu 18.04 with L4T version R32.1. I don’t know if the info is enough to know a possible solution to my error. Any help is appreciated.
Thanks, keep on, your tutorials are really helpful.
Thank you for the kind words. Unfortunately the article you are working from is several years old and for a different machine (the Jetson TK1, not the 64bit Jetson TX1/TX2/Xavier/Nano). QT Creator is several versions newer now, I’m not sure how much carries over to the TX2.