


For recent L4T releases, Intel now recommends using a different installation technique, it only takes 5 minutes! Looky here: https://wp.me/p7ZgI9-34j. The following is for historical purposes.
Getting full support for the Intel RealSense Depth Camera on the NVIDIA Jetson Nano Developer Kit is simplified by using a couple of installation scripts. Looky here:
Introduction
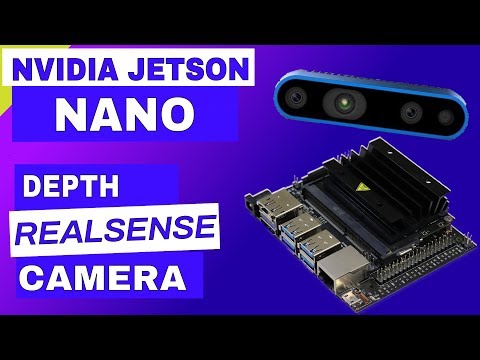
In an earlier article, we installed an Intel RealSense Tracking Camera on the Jetson Nano along with the librealsense SDK. We’ve have used the RealSense D400 cameras a lot on the other Jetsons, now it’s time to put them to work on the Jetson Nano.
For best performance and support of the RealSense Depth Camera features, Intel recommends modifying the Linux kernel and modules.
To remind you of the different cameras available, here’s a couple of the more popular models which points out their features:
Intel® RealSenseTM Depth Camera D415
- Intel® RealSenseTM Vision Processor D4
- Up to 1280×720 active stereo depth resolution
- Up to 1920×1080 RGB resolution
- Depth Diagonal Field of View over 70°
- Dual rolling shutter sensors for up to 90 FPS depth streaming
- Range 0.3m to over 10m (Varies with lighting conditions)
Intel® RealSenseTM Depth Camera D435/D435i
- Intel® RealSenseTM Vision Processor D4
- Up to 1280×720 active stereo depth resolution
- Up to 1920×1080 RGB resolution
- Depth Diagonal Field of View over 90°
- Dual global shutter sensors for up to 90 FPS depth streaming
- Range 0.2m to over 10m (Varies with lighting conditions)
- Intel® RealSenseTM Depth Camera D435i includes Inertial Measurement Unit (IMU) for 6 degrees of freedom (6DoF) data
For robotics applications, the D435 is popular due to its global shutter and wide field of view.
Software Installation
To interface with the camera, Intel provides the open source library librealsense. On the JetsonHacksNano account on Github, there is a repository named installLibrealsense. The repository contains convenience scripts to install librealsense.
Note: Starting with L4T 32.2.1/JetPack 4.2.2 a swap file is now part of the default install. You do not need to create a swap file if you are using this release or later. Skip the following step if using 32.2.1 or above.
In order to use the install script, you will either need to create a swapfile to ease an out of memory issue, or modify the install script to run less jobs during the make process. In the video, we chose the swapfile route. To install the swapfile:
$ git clone https://github.com/jetsonhacksnano/installSwapfile
$ cd installSwapfile
$ ./installSwapfile.sh
$ cd ..
You’re now ready to install librealsense.
$ git clone https://github.com/jetsonhacksnano/installLibrealsense
$ cd installLibrealsense
$ ./installLibrealsense.sh
While the installLibrealsense.sh script has the option to compile the librealsense with CUDA support. If you want to add CUDA support to the librealsense SDK, add a -c switch to the shell script:
$ ./installLibrealsense.sh -c
The location of librealsense SDK products after installation:
- The library is installed in /usr/local/lib
- The header files are in /usr/local/include
- The demos and tools are located in /usr/local/bin
Kernel and Modules
For the RealSense Depth Cameras, you will find that performance is much better if you apply the patches to the kernel models. Note: If you have a D435i, the camera will not be detected without the patches.
This video covers the differences between only installing librealsense versus librealsense plus the kernel modifications. Looky here:

To install the kernel and module patches, build them, and then install first switch to the installLibrealsense directory then:
You’re now ready to install librealsense.
$ ./patchUbuntu.sh
This will start the patch, build and install process. On a micro SD card this will take ~ one hour, 20 minutes. Note: If you compile the kernel and modules on a USB SSD, remember to copy the new Image to the /boot directory of the SD card which you boot from.
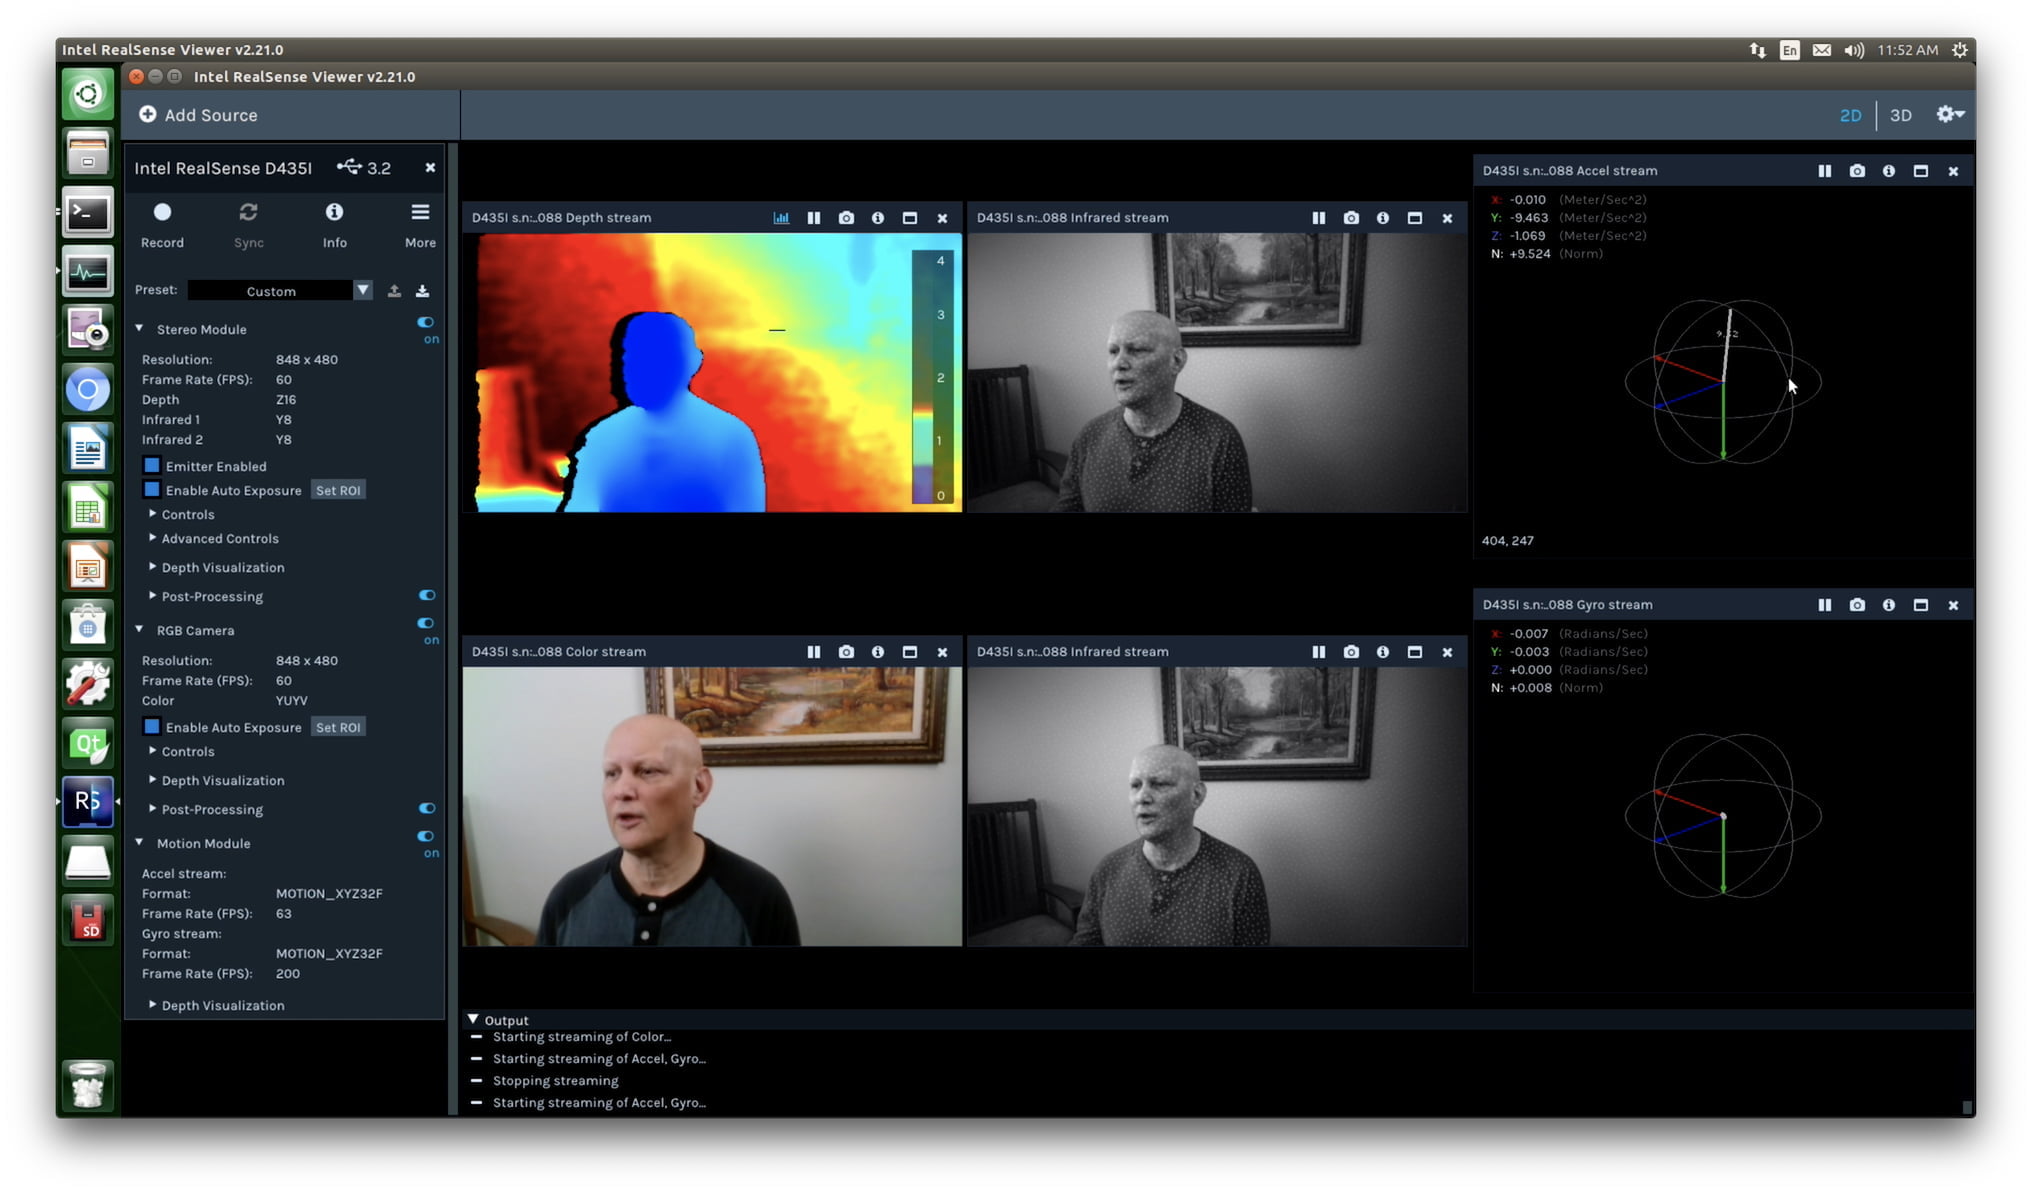
Demos
Go to the demos and tools directory in /usr/local/bin, and checkout the realsense-viewer application and all of the different demonstrations! There are a wide variety of code samples for different uses in the librealsense SDK. When you go to program against the SDK, you’ll benefit from having a good catalog with which to work.
Notes
The following issue appears to be resolved:
July 1, 2019 – There appears to be an issue with the bzip2 utility which is used in the patchUbuntu.sh script. If you encounter this error, which usually looks something like:
Current working directory: /usr/src/kernel/kernel-4.9
bash: scripts/config: No such file or directory
make: *** No rule to make target ‘olddefconfig’. Stop.
See here for a workaround: https://github.com/JetsonHacksNano/installLibrealsense/issues/12