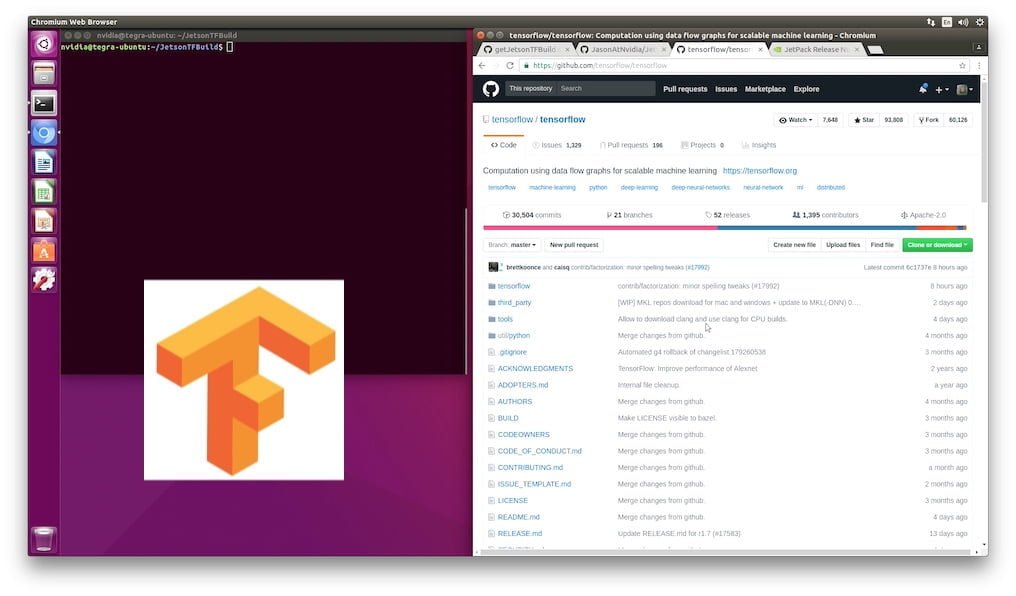
We build TensorFlow 1.6 on the Jetson TX with some new scripts written by Jason Tichy over at NVIDIA. Looky here:
Background
TensorFlow is one of the major deep learning systems. Created at Google, it is an open-source software library for machine intelligence. The Jetson TX2 ships with TensorRT. TensorRT is what is called an “Inference Engine“, the idea being that large machine learning systems can train models which are then transferred over and “run” on the Jetson.
In the vast majority of cases, you will want to install the associated .whl files for TensorFlow and not build from source. You can find the latest set of .whl files in the NVIDIA Jetson Forums.
Note: We previously built TensorFlow for both the Jetson TX2 and Jetson TX1 for L4T 28.1. Because of changes to the Java environment, these have been deprecated.
Some people would like to use the entire TensorFlow system on a Jetson. In this article, we’ll go over the steps to build TensorFlow r1.6 on a Jetson TX Dev Kit from source. These scripts work on both the Jetson TX1 and Jetson TX2. This should take about three hours to build on a Jetson TX2, longer on a Jetson TX1.
You will need ~10GB of free space in your build area. Typically the smart move is to freshly flash your Jetson with L4T 28.2, CUDA 9.0 Toolkit and cuDNN 7.0.5 and then start your build.
Installation
The TensorFlow scripts are located in the JasonAtNvidia account on Github in the JetsonTFBuild repository. You can simply check out the entire repository:
$ git checkout https://github.com/JasonAtNvidia/JetsonTFBuild.git
which will clone the repository including the TensorFlow .whl files. The .whl files take up several hundred megabytes of space. You may want to delete the .whl files.
As an alternative, here’s a script which will download the repository without the wheels directory:
Save the gist to a file (for example getJetsonTFBuild.sh), save the file and then execute it. For example:
$ bash getJetsonTFBuild.sh
This will download everything except the wheel directory.
Next, switch over to the repository directory:
$ cd JetsonTFBuild
Building
To execute the build file:
$ sudo bash BuildTensorFlow.sh
There are three parameters which you may pass to the script:
- -b | --branch <branchname> Github branch to clone, i.e r1.6 (default: master)
- -s | --swapsize <size> Size of swap file to create to assist building process in GB, i.e. 8
- -d | --dir <directory> Directory to download files and use for build process, default: pwd/TensorFlow_install
Because the Jetson TX1 and Jetson TX2 do not have enough physical memory to build TensorFlow, a swap file is used.
Note: On a Jetson TX1, make sure that you set the directory to point to a device which has enough space for the build. The TX1 does not have enough eMMC memory to hold the swap file. The faster the external memory the better. The Jetson TX2 eMMC does have enough extra room for the build.
For example, to compile TensorFlow release 1.6 on a Jetson TX2 (as shown in the video):
$ sudo bash BuildTensorFlow.sh -b r1.6
After the TensorFlow build (which will take between 3 to 6 hours), you should do a validation check.
Validation
You can go through the procedure on the TensorFlow installation page: Tensorflow: Validate your installation
Validate your TensorFlow installation by doing the following:
Start a Terminal.
Change directory (cd) to any directory on your system other than the tensorflow subdirectory from which you invoked the configure command.
Invoke python or python3 accordingly, for python 2.X for example:
$ python
Enter the following short program inside the python interactive shell:
>>> import tensorflow as tf
>>> hello = tf.constant(‘Hello, TensorFlow!’)
>>> sess = tf.Session()
>>> print(sess.run(hello))
If the Python program outputs the following, then the installation is successful and you can begin writing TensorFlow programs.
Hello, TensorFlow!”
This is not very thorough, of course. However it does show that what you have built is installed.
Conclusion
This is a pretty straight forward process to build TensorFlow. At the same time, you should spend the time in reading through the scripts to get an understanding of how they operate.
Make sure to report any issues on the JasonAtNvidia account in the JetsonTFBuild repository.
Special thanks again to Jason Tichy over at NVIDIA for the repository!
Notes
- The install in the video was performed directly after flashing the Jetson TX2 with JetPack 3.2
- The install is lengthy, however it certainly should take much less than 4 hours on a TX2 and less than 6 hours on a TX1 once all the files are downloaded. If it takes longer, something is wrong.
- In the video, TensorFlow 1.6.0 is installed
